Welcome to Tech Tuesday.
Images add an element to your campaigns that will enhance the visual experience.
Let’s learn how to add/insert an image to the campaign emails [Coupon Reach]
To add any images to your emails in Coupon Reach, you can follow the below steps:
Step 1: First, upload your photo to a photo cloud storage site like dropbox, shutterstock.com, imgbb.com, etc..
Imgbb (imgbb.com) is one of our recommendations.
Once you’re in imgbb.com, go and upload your image first. Once the upload is complete, click the image itself:
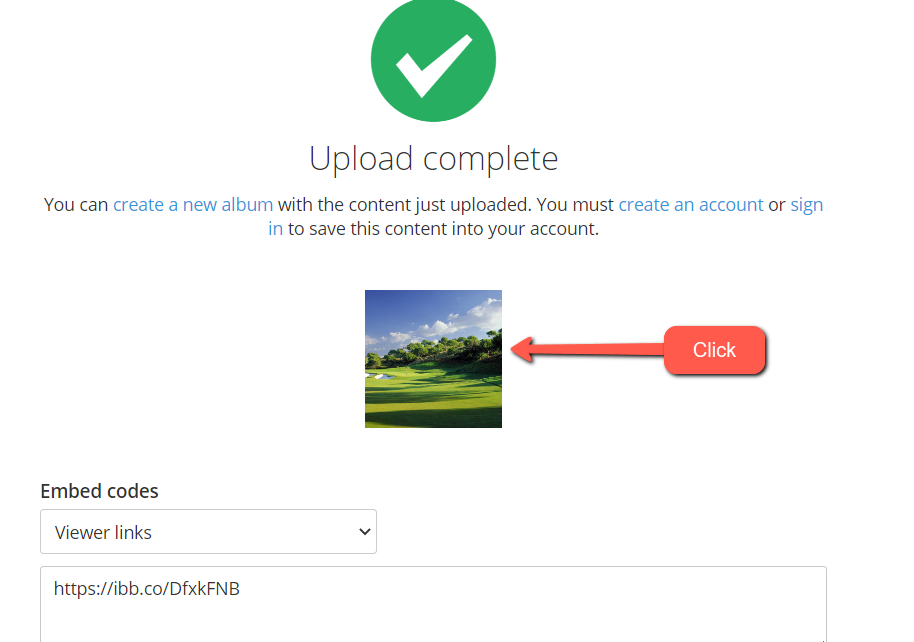
Step 2: You’ll then see the image opened on another tab. Right-click on the image and click on Copy Image Address.

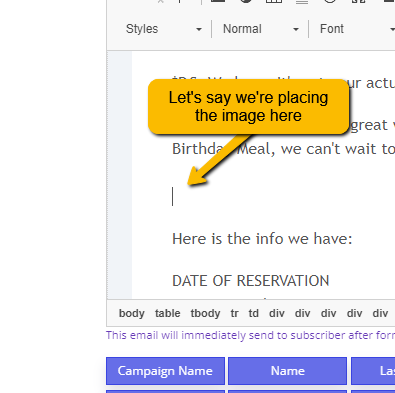
Step 3: Then, go back to the Email that you want to insert or add the image to in Coupon Reach. First, place the text cursor on where you’d like to place the image.
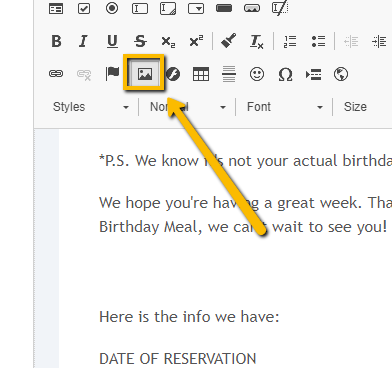
Step 4: Click on the Image button in the toolbar above the email textbox (highlighted in the screenshot below):
Step 5: Then paste the Image Address that you copied on the URL Field:
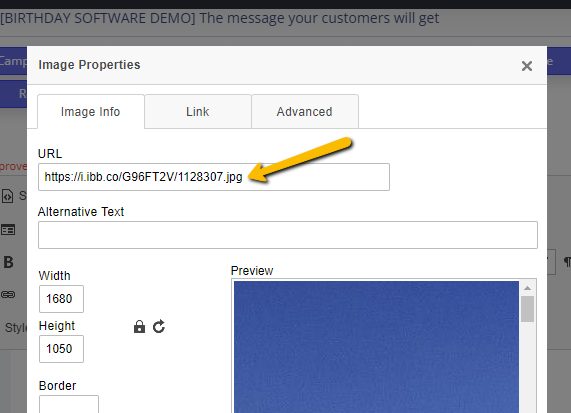
Step 6: Click OK and you should see the image in the email right away.
Note:
If you ever need to resize the image, just double-click the image again, and reduce either the Width or the Height. They’re both linked so whether you reduce one of them, the other will adjust accordingly (unless you unlink them by clicking the padlock icon) . You can also use “100%” on both the width and height to fully show them in the current text box.