Let’s learn How to Set up Your Custom Domain in Coupon Reach.
Setting up a Custom Domain name will allow users to replace the coupon reach URL with your own custom one
Let’s get started:
Step 1:
Make sure the following requirements have been met before setting up your Custom Domain:
- Set up a Cloudflare account
- Have Registrar access to a hosting domain
If those requirements are met you can start the process of setting up your custom domain in Coupon Reach.
Step 2:
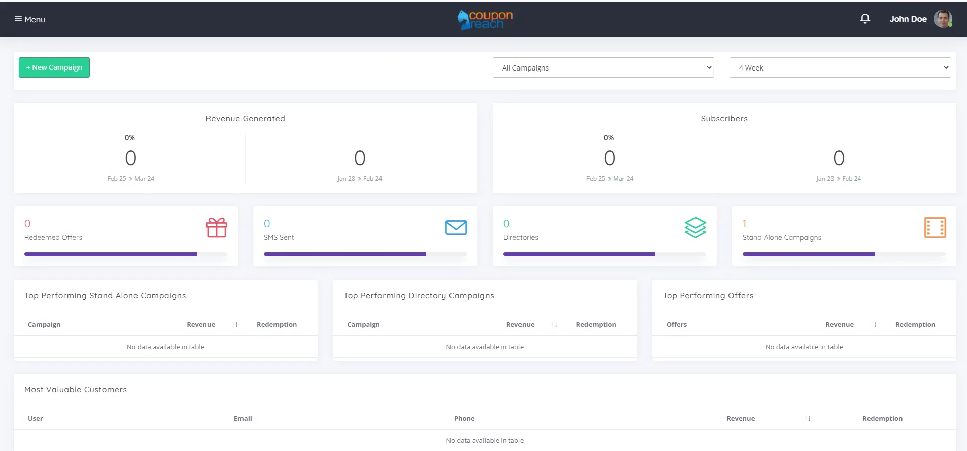
Log in to your Coupon Reach account.
Step 3:
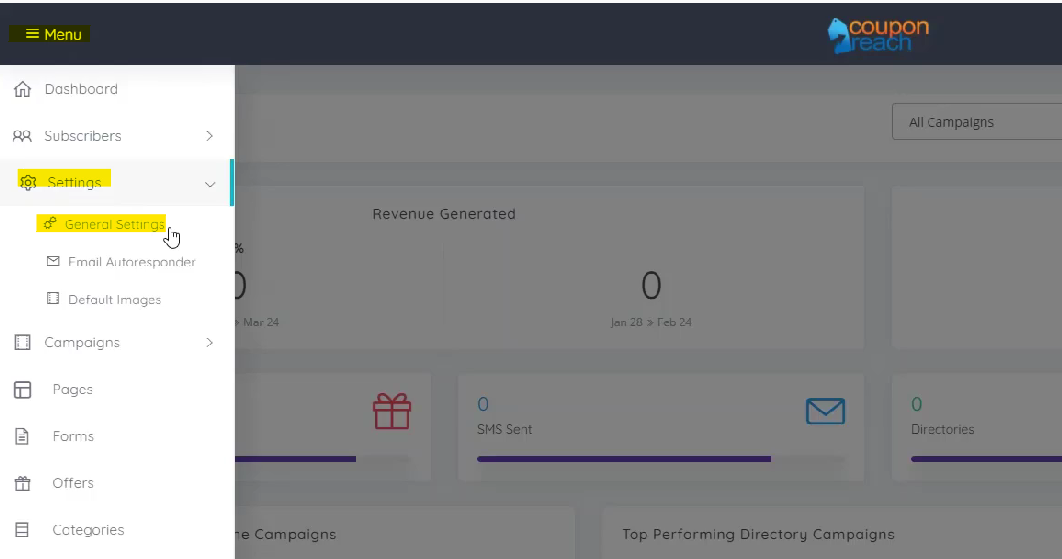
Next you will need to access the Custom Domain settings.
Go to the “Menu” drop down in the upper left hand corner.
Click “Settings” and select “General Settings”.
Step 4:
Once you have selected the “General Settings” button you will be directed to a settings page.
Select “Other Settings” from the settings options.

Step 5:
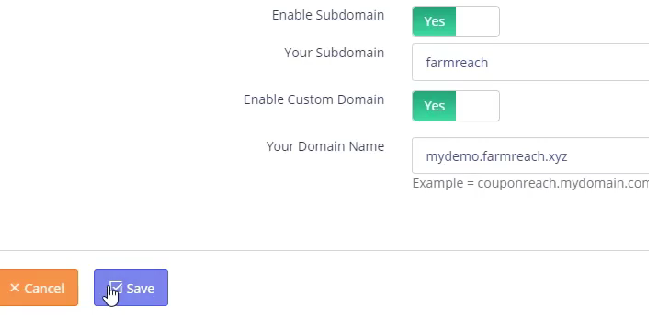
Next you will Enable the Subdomain button

Step 6:
Once you have enabled the Subdomain button a default subdomain name will appear below.

Here you can change the name to your preferred name.
Type in your preferred text and click the “Check Availability” button.

If the subdomain is available a confirmation popup will appear.

Step 7:
Next you will need to click the “Create Subdomain” button to save the subdomain to your account.

Sep 8:
Below this section you will Enable the “Custom Domain” button.

Step 9:
Add a new valid domain from your hosting provider and click on the “Register Domain” button to save the domain name to your account.

Step 10:
Click the “Save” button to save all of your changes.
Step 11:
Next you will need to add the domain in Coupon Reach to Cloudflare.
Login to your Cloudflare account.
Once you have logged in select “+Add Site”.

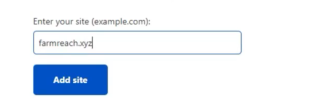
Step 12:
Enter your site name and click “Add Site”.
You will be directed to a payment option page.
Select the Free option and click “Continue”
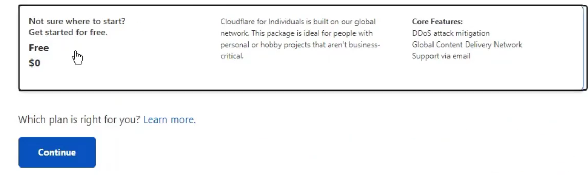
Cloud Flare will then scan your site for DNS record.
Step 13:
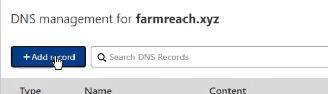
Next you will need to add a few more details to your DNS record.
Select the “+Add Record” button.
Click the drop down in the “Type” section and select the CNAME option.
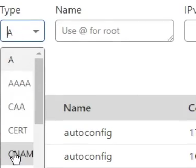
In the “Name” section enter the name of your custom domain.

In the “Target” section add your subdomain name.

Click “Save” and scroll down and click “Continue”.
Step 14:
Next you will be directed to a page that will hold the name servers to be used in your registrar.
Make sure to grab a copy of your name servers.

Step 15:
Next you will need to login to your domain registrar account.
If you are unsure of the domains registrar select the “WHOIS” text.

You will be directed to a lookup site where you can enter your domain and look up your registrar information.

In this example the registrar information is “Name Cheap”.
Step 16:
Next you will need to change the name servers in your registrar (Ex: Name Cheap) to your new name servers from Step 14.
In this example I will show you how to do this in the perspective of a Name Cheap account holder.
- Log into Namecheap
- Go to your dashboard
- Find the domain you have added in Cloudflare and click on “Manage”
- Look for the name servers section & set it to custom DNS

5. Enter the Cloudflare name servers from Step 14. Select the “check” to save.

Step 17:
We recommend checking the DNS with online DNS checker : https://dnschecker.org/
Here you can verify if name servers have been updated.
Simply add the domain and set the record to “NS”
Click “Search”.

This can take up to 24 hours to show so continue to check back after a period of time.
Once you see the name servers from step 14 show up in your DNS Check you are all set!