Hello and welcome to My Local Agency’s Blog!
Today we are going to go over setting up your campaign in Prospect Reach.
Before we get started with your campaign, make sure you have everything set up and ready in your platform.
Check out our blog on “How to get your platform setup fast in Prospect Reach”
Now that your platform is set up you are ready to start your campaign.
Step 1: Once inside the software Click the “campaigns” tab
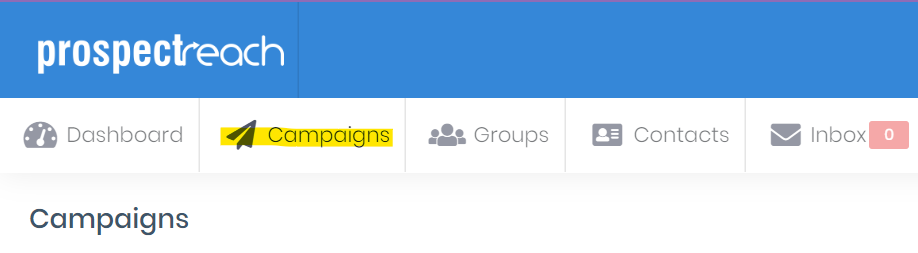
Then select “Add Campaign”

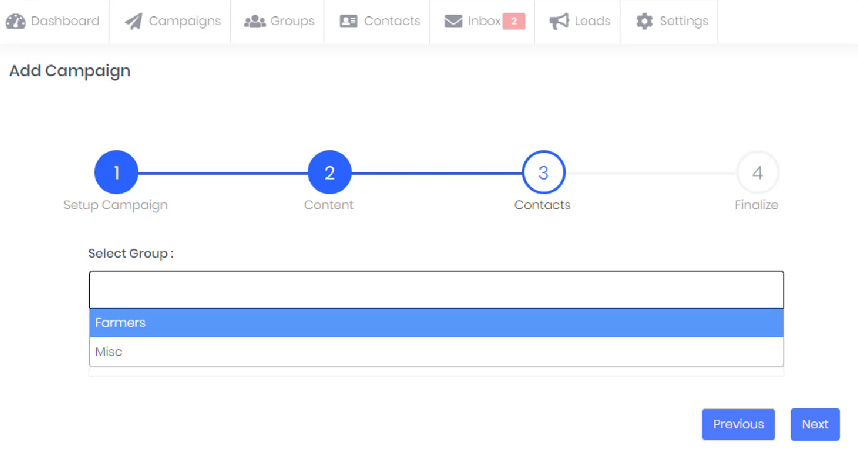
Step 2: Next you will be directed to a four step campaign setup wizard.
First you will be directed to “Setup the Campaign”
Enter the Campaign Name & your SendGrid account address.
*Unsure how to set up your SendGrid account? Check out our tutorial HERE
Then select “Next”

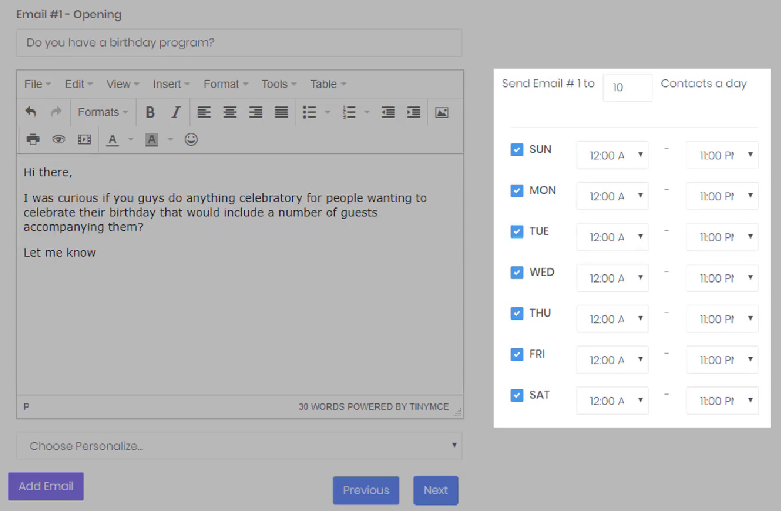
Step 3: Next is creating the actual content for your Campaign emails.
Here you will create your message and the days and times you want your email sent.
This is your Opening email to potential prospects.
Select “Next” when complete.

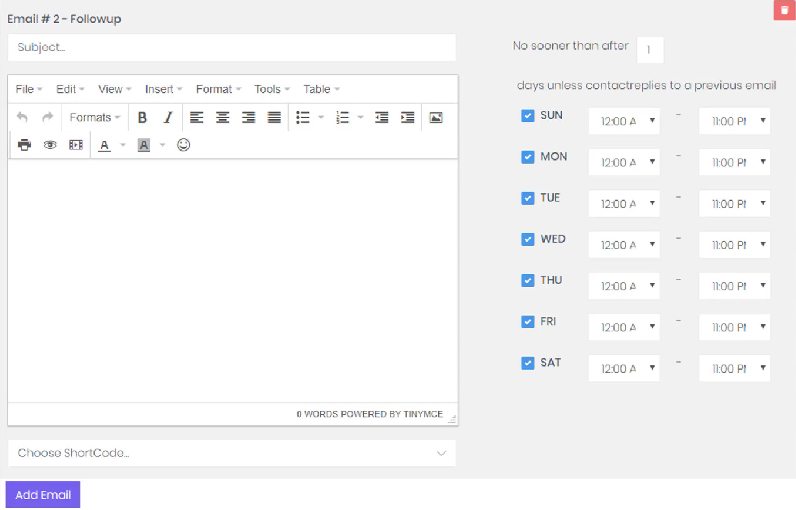
Step 4: Next you will add the content for your follow up email and select the dates and times you want the email sent out.
Step 5: In the third part of the wizard you will select the group you want included for your campaign.
Step 6: Finally you will review your SendGrid email and click “Submit”

Make sure to click the check box to add an unsubscribe link to your emails.

Once submitted you will receive a pop up letting you know your campaign was launched successfully.
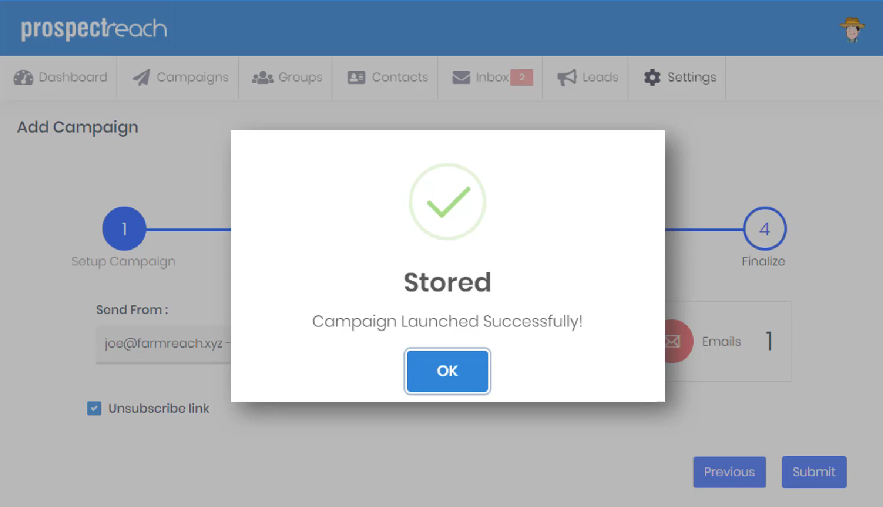
Congratulations you have set up your first campaign!
*If you are in need of any assistance setting up your campaign or have any questions, please reach out to our support team.