Welcome to Tech Tuesday!
Tech Tuesday is designed to give you quick and easy tutorials that will enhance your technical abilities!
Today we will dive into the Website Widget in Contactreach.
Web Widgets is a new feature in Contact Reach. it is a new module in which you can customize a collapsible button that can be placed on any website.
When the button is clicked it will redirect to a campaign form. Every new website the widget is placed is a potential new client for you!
You now know what it is and the benefits. Let’s walk through how to set one up!
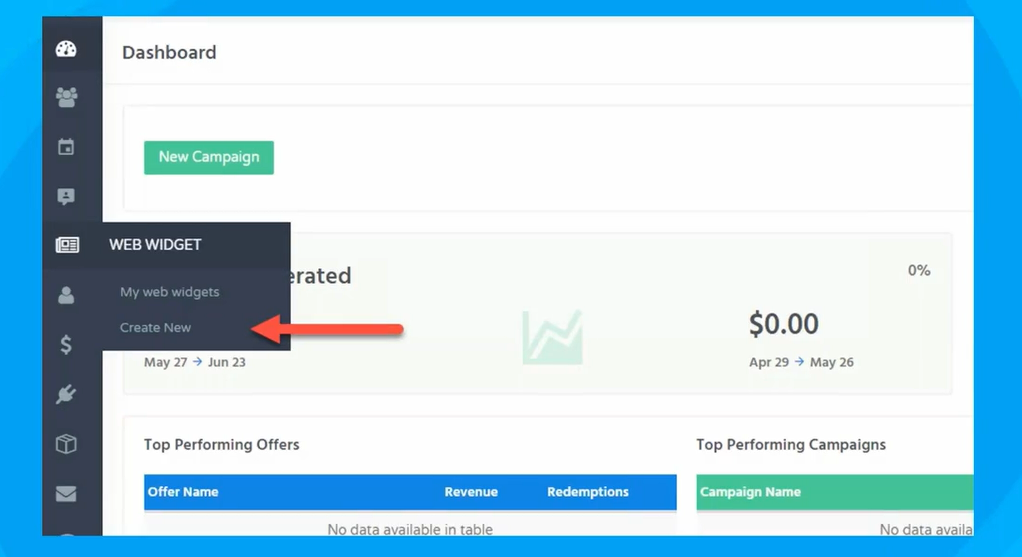
On your Dashboard you will see a new button for Web Widgets click “create new”
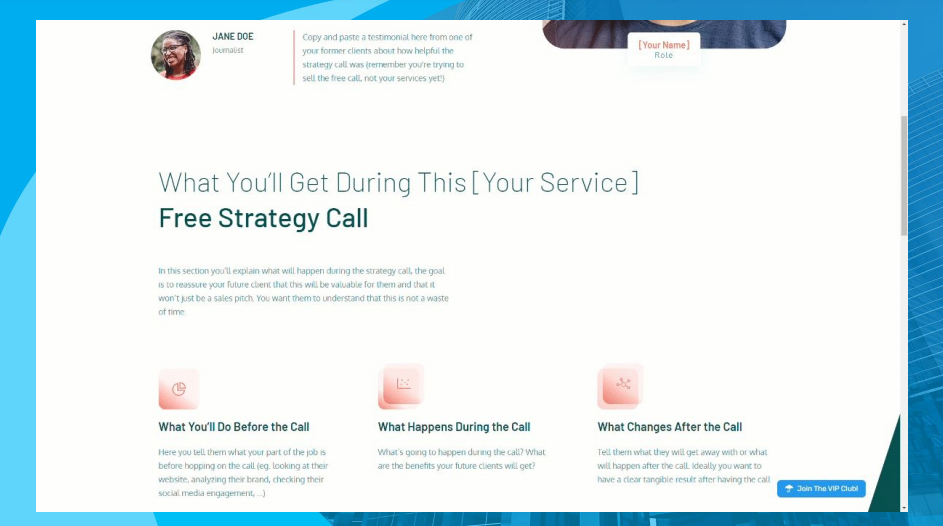
This will direct you to a widget template already created for you.
This template will act as a guide for you customize.
All the text is editable and the images can be changed out as well.

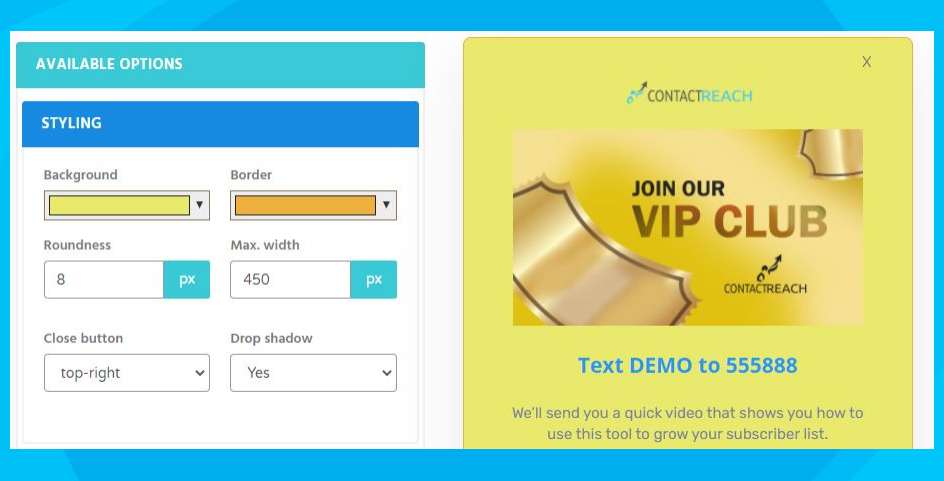
The first available option for customization is “Styling”.
This option will customize the background and border.
Here you can also set the roundness of the corners and the width of the widget.
You can choose where you want your close button and if you want a drop shadow on your widget.
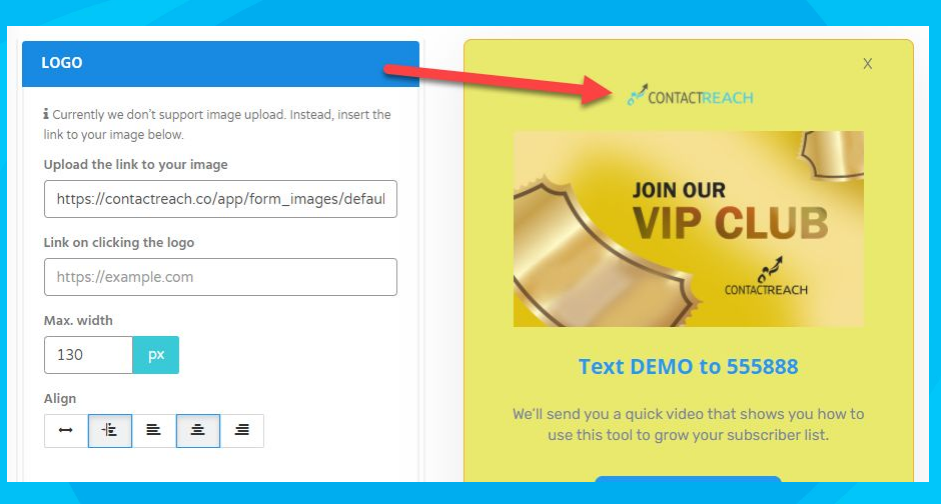
Option two is “Logo”. Here you can upload a link to your preferred logo.
The logo can also be made clickable by adding a URL.
Edit your size of your logo and where you want it positioned.
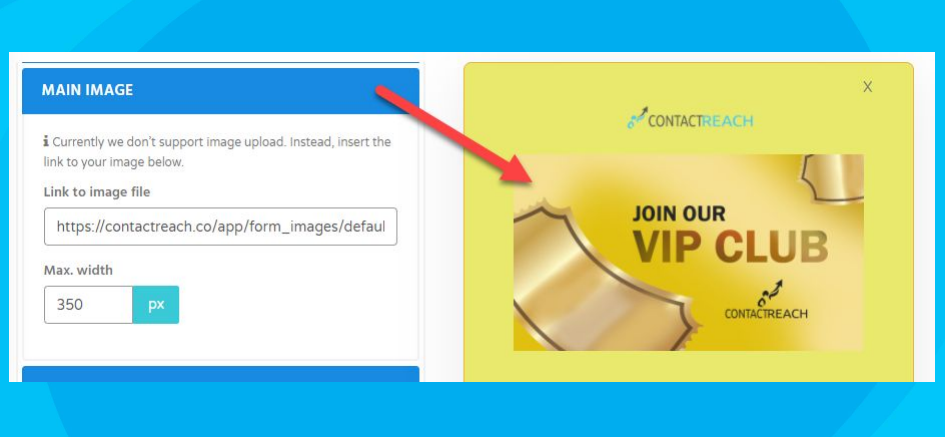
Option 3 is the “Main Image”. Here you can add a link to your preferred image.
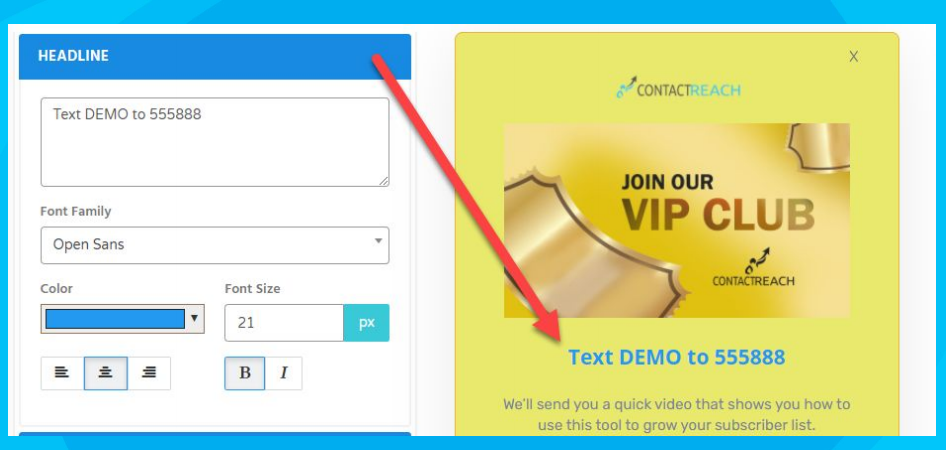
Option 4 is the “Headline”. This is a great way to show viewers how to join the campaign.
You can change the font here and the text color.
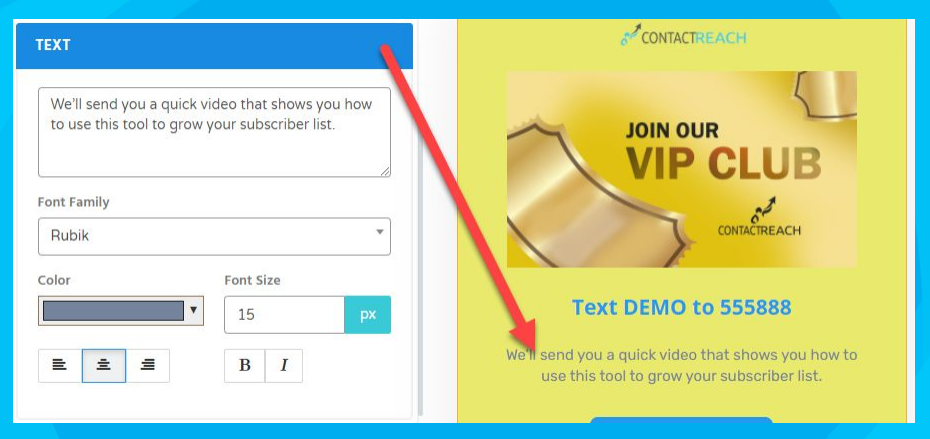
Option 5 is “Text”. Here you can edit your text.
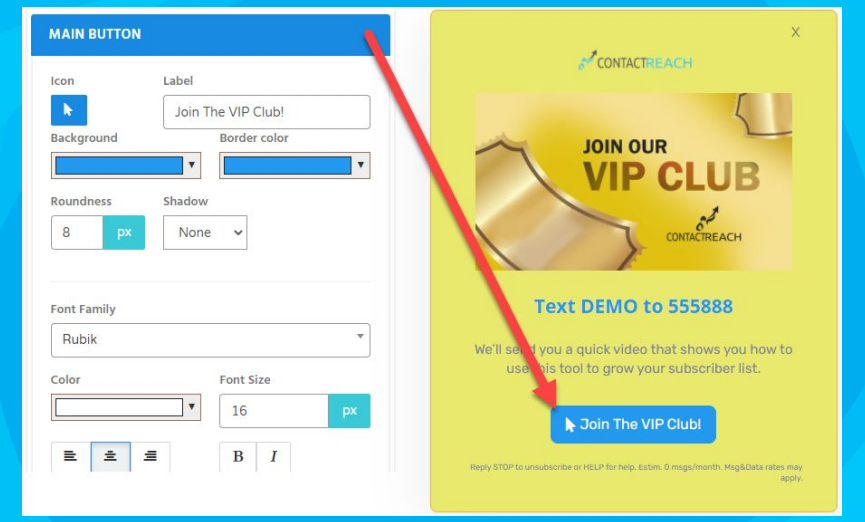
Option 6 is “Main Button”.
Here you can add an icon to your button and edit your text.
You can change your background and border color.
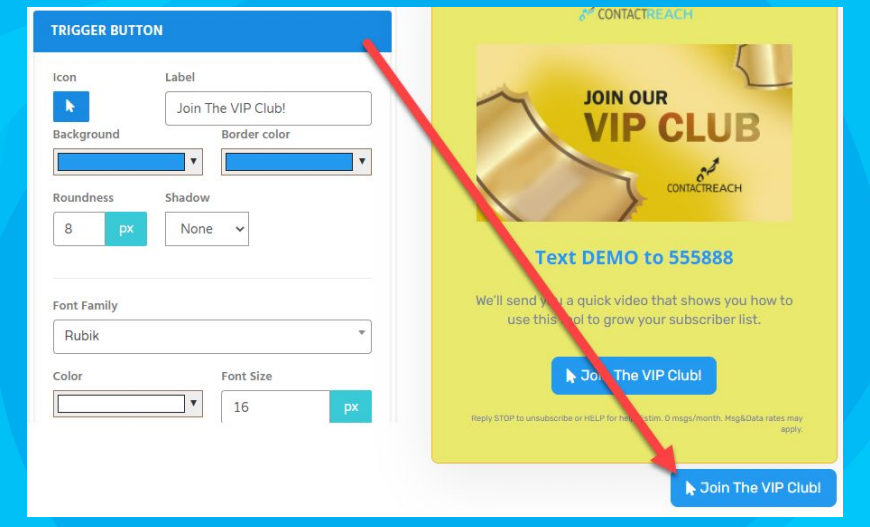
Option 7 is “Trigger Button”. Here you can edit the way the widget button looks that shows up on your webpages.
Option 8 is “Footer”. Here you can edit the footer text.

Finally name your widget. Now you can insert your widget into your campaigns.

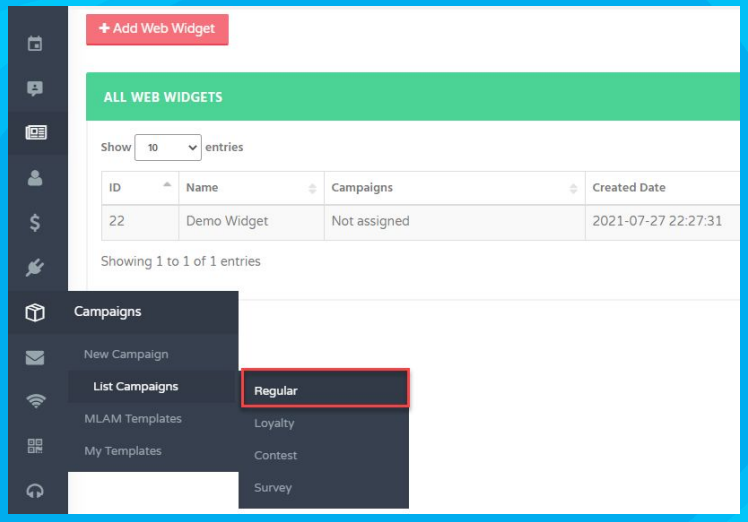
Go to your dashboard and click “campaigns” and “list campaigns” and “regular”.
When you are in your campaign wizard you will need you enable “subscription by widget”.

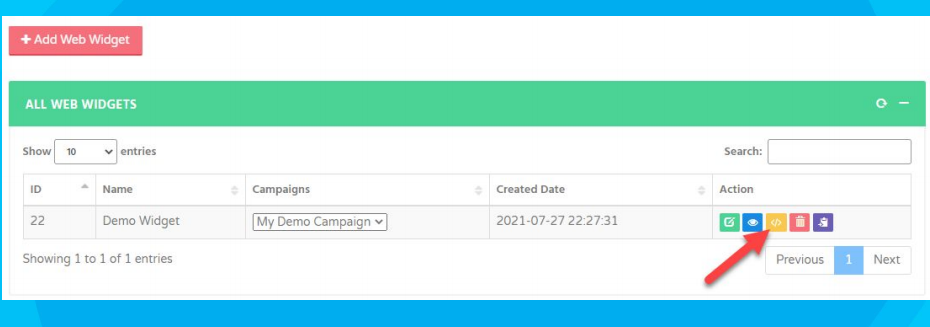
Here you can insert your widget! Go back into your widget list and you will see a yellow embed button.
This will be how you embed the widget into your site.
You can then choose the campaign you want to embed the code in.

Copy the code and you can insert into your website editor. The location of the code is subject to change depending on your website provider.
Congratulations! You now know the benefits of the new widget feature, how to create a widget and how to insert it into your campaign.
Happy Tech Tuesday we will see you next time!